2012 FJ Cruiser Driver Rails Removal
When you have made the commitment to upgrade to scheel-mann seats for your FJ Cruiser, the first step is of course removing the seats from the vehicle which you can see in the SEAT REMOVAL video: https://youtu.be/rIYcBSybkVA
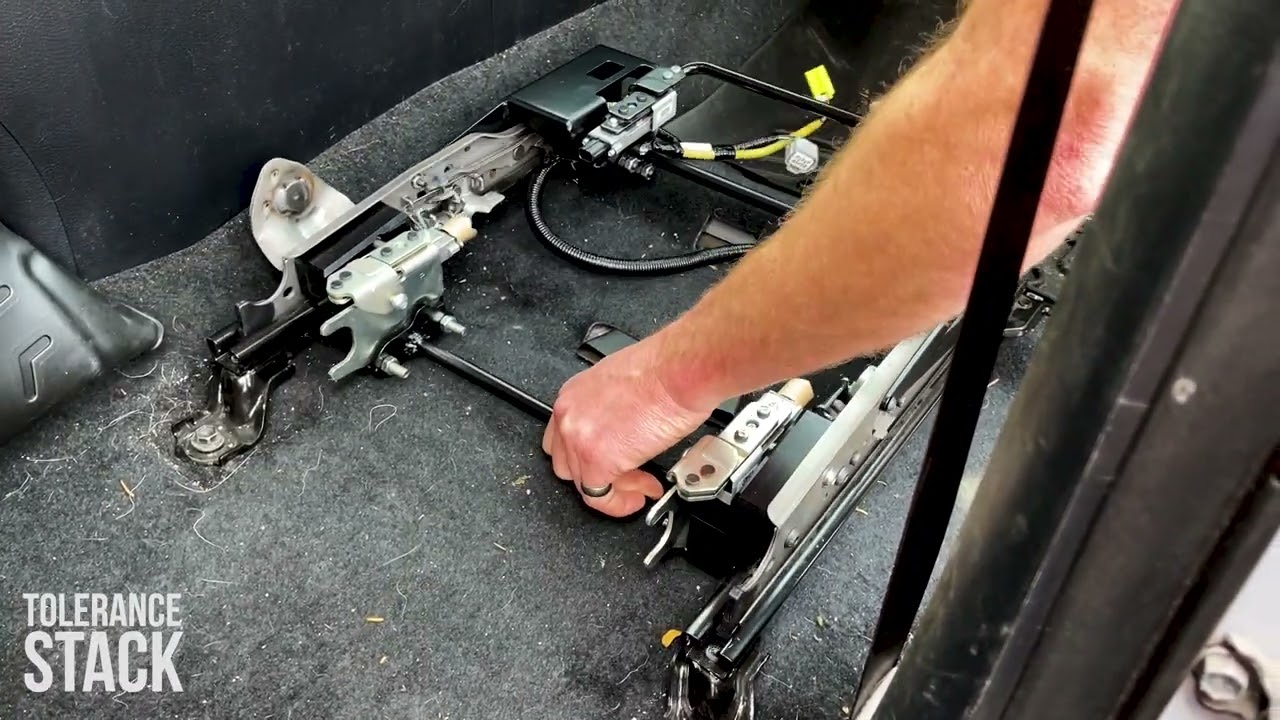
Once the driver seat is out you now have to remove the hardware necessary to remove the two sliding rails needed to complete the install onto a Tolerance Stack mounting bracket for your scheel-mann Vario seat.
Tools needed:
• Wire cutters
• Philips driver
• T40 Torx socket
• 12 and 14mm sockets
• Sharp razor blade
General steps:
• Lay the seat flat on a workbench
• Remove the seat slider handle by prying the retention springs
• Remove the four T40 Torx screws on the inboard rail
• Remove front two bolts to remove the front cross-member
• Remove the seat belt buckle and its bracket (save)
• Place the inboard rail to the side
• Unplug the proximity sensor
• Remove the single screw in the rear
• Remove side panel plastic, front edge slides forward
• Remove the four T40 bolts on the outboard rail
• Place the outboard rail to the side
• Undo the rest of the harness clips and remove the wire harness connected to the seat belt and bracket
• Now that rails are out, remove the large black plastic clips on the back of the rails that are hold on by clips accessible from the outside of the rail
NOTE: if you have rust on your rails and it bothers you, you can simply use a wirewheel to remove the rust. If the rest is particularly bad you can soak JUST the rails, NOT the sliders (which houses the bearings and grease), into a tub of vinegar overnight.
www.tolerance-stack.com